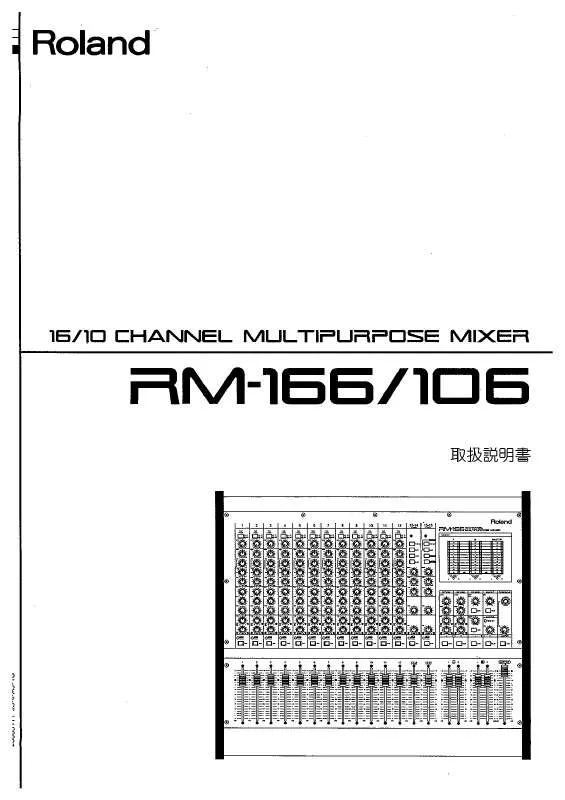
ユーザーズガイド ROLAND RM-166
Lastmanualsはユーザー主導型のハードウエア及びソフトウエアのマニュアル(ユーザーガイド・マニュアル・クイックスタート・技術情報など)を共有・保存・検索サービスを提供します。 製品を購入する前に必ずユーザーガイドを読みましょう!!!
もしこの書類があなたがお探しの取扱説明書・マニュアル・機能説明・回路図の場合は、今すぐダウンロード。Lastmanualsでは手軽に早くROLAND RM-166のユーザマニュアルを入手できます。 ROLAND RM-166のユーザーガイドがあなたのお役に立てばと思っています。
ROLAND RM-166のユーザーガイドをLastmanualsがお手伝いします。


マニュアル抽象的: マニュアル ROLAND RM-166
詳しい操作方法はユーザーガイドに記載されています。
[. . . ] Copyright © 2008 ROLAND CORPORATION All rights reserved. No part of this publication may be reproduced in any form without the written permission of ROLAND CORPORATION.
3
Using the Unit Safely
Used for instructions intended to alert the user to the risk of death or severe injury should the unit be used improperly. Used for instructions intended to alert the user to the risk of injury or material damage should the unit be used improperly. * Material damage refers to damage or other adverse effects caused with respect to the home and all its furnishings, as well to domestic animals or pets.
The symbol alerts the user to important instructions or warnings. The specific meaning of the symbol is determined by the design contained within the triangle. [. . . ] Tourner le TD-20 sens dessus dessous.
* Veiller à ne pas endommager les boutons et les manettes en tournant le TD-20 sens dessus dessous. Pour les protéger, déposer un coussin ou une serviette sur la surface de travail. Support de carte de circuits imprimés
4. Placer les supports de la carte de circuits imprimés comme le montre l’illustration.
3. Retirer les huit vis (indiquées par des flèches) de la plaque inférieure. Insérer le connecteur de la carte d’expansion à fond dans le connecteur du TD-20. S’assurer que l’extrémité de chaque support de la carte de circuits imprimés dépasse des ouvertures du RM-166.
* Ne retirer aucune vis autre que celles qui sont indiquées par des flèches. À l’aide de l’outil fourni avec le RM-166, tourner les supports de la carte de circuits imprimés en position LOCK (verrouillé) pour fixer le RM-166.
7. Remettre le couvercle en place et le fixer à l’aide des huit vis retirées à l’étape 3.
* Une fois l’installation du RM-166 terminée, revérifier le travail pour s’assurer qu’il est installé correctement et que les supports de la carte de circuits imprimés sont à la position LOCK (verrouillé). 20
Mise à jour du TD-20 à l’aide de la carte CompactFlash
1. L’appareil étant hors tension, insérer la carte CompactFlash fournie dans l’emballage 2. Your current CompactFlash Card stays compatible on the new, expanded version, as well as the original version (p. 24).
KD-120 Users
If you have imported your own trigger bank settings from the original TD-20 version, we advise you to double check the trigger parameters for the KD-120. As dynamic response has been improved, re-adjusting those parameters will make you feel even more comfortable while playing.
Directly “audition” a kit on the CompactFlash card.
You can choose between preset kits: TD-20/RM-166 and kits saved on CompactFlash card (p. You can play the kit before loading it into the USER area. (however, pad patterns will not work when being played from the CompactFlash card)
Important notes about the Hi-Hat
We strongly recommend that you spend time adjusting the Hi-Hat parameters to adapt to your performance techniques. • The most important is correctly setting the “offset” before you play each time. ACCESS: [KIT] + [TRIGGER] • The “Foot Splash Sens” parameter is also important. ACCESS: [TRIGGER]–[F3 (HI-HAT)] • Also remember that for each kit, there is a separate control for the sound level of the “Foot Closed (Pedal HH)” sound. ACCESS: [KIT]–[F2 (FUNC)]–[F1 (VOLUME)] • Keep in mind that for the sound level of the Hi-Hat that setting different levels for the “Head” and “Rim” can help you get a good sound balance. Press [F5] so you can adjust the levels separately. 23
More demo songs
An additional ten new demo songs introduce the RM-166’s sounds and expressive power.
Support for the latest pads
The PD-125XS/PD-125X/PD-105X V-pads and the KD-140 V-kick are now supported.
About the Drum Kits
After you have completed the upgrade process, you will find that the user memory has expanded to 100 Kits: 50 NEW kits from 1–50 and the original TD-20 pre-set Kits from 51–100. [. . . ] Loose-sounding kit with a raw-feeling decay. Kit in the drum booth of a recording studio. Loop pattern is played on Clash 2’s bow. Loop pattern is played on Clash 2’s bow. [. . . ]
ROLAND RM-166ダウンロード上のご注意
Lastmanualsはユーザー主導型のハードウエア及びソフトウエアのマニュアル(ユーザーガイド・マニュアル・クイックスタート・技術情報など)を共有・保存・検索サービスを提供します。
お探しの書類がなかったり、不完全だったり、言語が違ったり、モデル名や言語が説明と違う場合など、いかなる場合でもLastmanualsはその責を負いません。またLastmanualsは翻訳のサービスもしていません。
規約に同意して「マニュアルをダウンロード」をクリックすればROLAND RM-166のマニュアルのダウンロードが開始されます。
