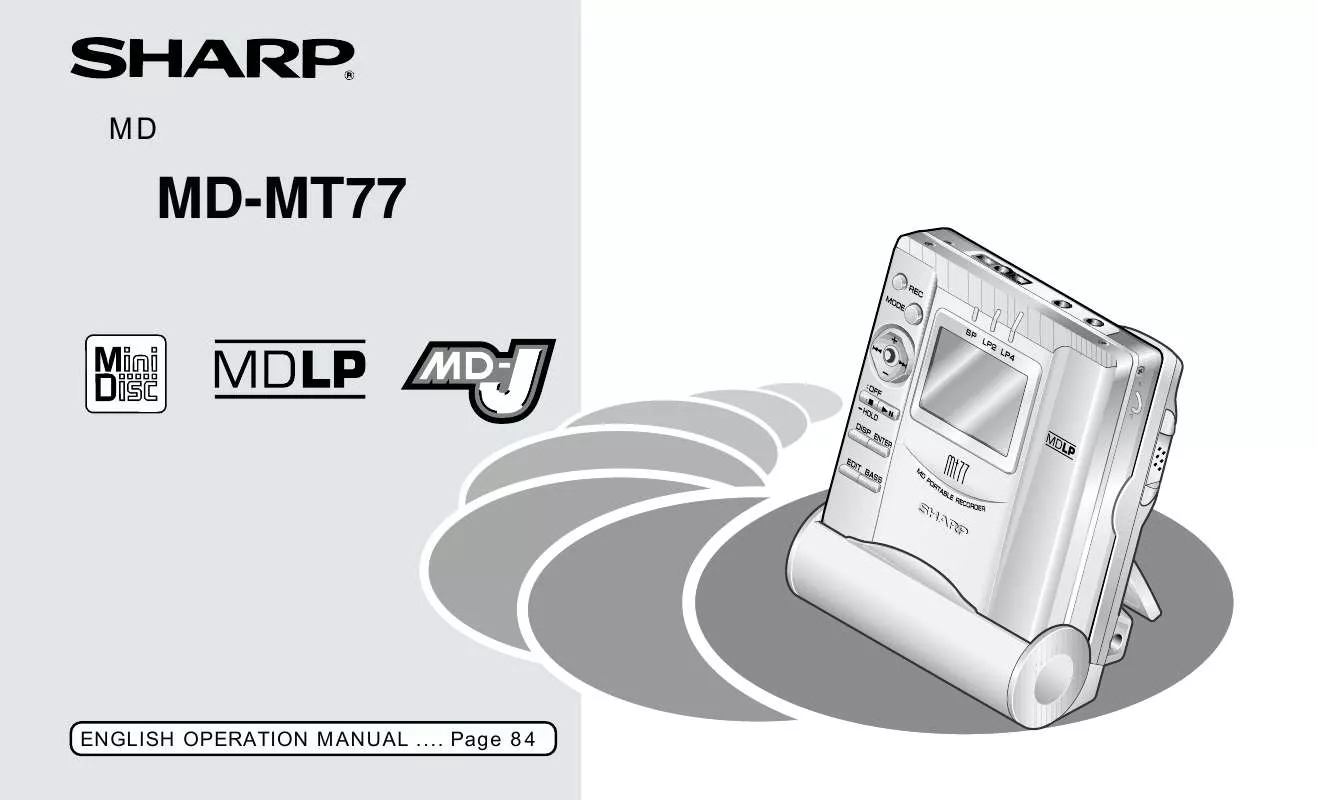
ユーザーズガイド SHARP MD-MT77
Lastmanualsはユーザー主導型のハードウエア及びソフトウエアのマニュアル(ユーザーガイド・マニュアル・クイックスタート・技術情報など)を共有・保存・検索サービスを提供します。 製品を購入する前に必ずユーザーガイドを読みましょう!!!
もしこの書類があなたがお探しの取扱説明書・マニュアル・機能説明・回路図の場合は、今すぐダウンロード。Lastmanualsでは手軽に早くSHARP MD-MT77のユーザマニュアルを入手できます。 SHARP MD-MT77のユーザーガイドがあなたのお役に立てばと思っています。
SHARP MD-MT77のユーザーガイドをLastmanualsがお手伝いします。


マニュアル抽象的: マニュアル SHARP MD-MT77
詳しい操作方法はユーザーガイドに記載されています。
[. . . ] MD-MT77
200
100
2
1 2 3 4 5 6
7 8 9 10 11 12
1
3 4 5 6
RELEASE
LOCK
1
2
RANDOM
RANDOM
1
–
–
¤
¤ ¤ ¤ ¤ ¤ ¤ ¤ ¤ ¤ ¤ ¤ ¤ ¤ ¤ ¤ ¤ ¤ ¤ ¤ ¤ ¤ ¤ ¤
g
(011)641-4690 (011)641-4685 (0157)36-4649 (0155)21-6925 (0144)34-7740 (0143)45-4649 (0154)25-4649 (0166)25-4649 (0138)51-4649 (0177)38-0281 (0172)27-4649 (0178)44-4649 (018)863-4649 (0182)33-4649
(019)638-6087 (0193)23-4649 (022)288-9250 (022)288-9142 (023)631-4649 (0234)24-4649 (024)945-4649 (0242)25-4649 (0246)28-4649 (025)285-1513 (025)285-3663 (0258)23-1819
(03)5692-7722 (028)637-1179 (0282)62-5466 (03)5692-7722 (027)252-4706 (03)5692-7722 (029)241-4930 (0298)57-9130 (03)5692-7722 (048)666-7987 (0489)78-7101 (03)5692-7722 (03)3626-4642 (03)3776-2419 (03)3972-4195 (03)3707-3345 (03)5692-7765 (042)586-6059 (03)5692-7722 (043)299-8840 (0473)68-4766 (0479)79-1181 (0438)37-7912
(03)5692-7722 (045)753-4647 (0463)54-4738 (0427)59-4195 (03)5692-7722 (055)228-5375 (054)285-9360 (054)285-9340 (0559)22-5249 (053)463-4680 (026)293-6612 (0263)27-4694 (026)293-6262 (052)332-5880 (052)332-2623 (0564)24-2343 (0532)53-4647 (052)332-5880 (058)273-4969 (052)332-5880 (059)232-6300 (076)269-1875 (076)451-2459
(076)269-1875 (076)249-2434 (076)269-1875 (0776)54-2459 (06)6795-2899 (077)545-4692 (0749)24-4643 (06)6795-2899 (075)672-2378 (0773)23-9151 (06)6795-2800 (06)6643-5331 (0722)45-4651 (06)6794-5611 (0724)31-1950 (0726)34-4519 (06)6795-2899 (078)791-1541 (078)453-4651 (06)6421-4877 (0792)66-1819 (0796)23-7515 (06)6795-2899 (0743)53-6693 (0745)65-1492 (06)6795-2899 (073)445-4615 (0739)25-3121
(0857)27-8831 (086)292-1707 (086)292-1709 (0852)24-4811 (0852)24-4810 (082)874-8071 (082)874-8149 (0824)28-7448 (0824)28-7490 (0849)51-7644 (0849)51-7654 (083)972-0870 (083)972-0891 (0833)44-0923 (087)823-5513 (087)823-4901 (088)625-4684 (088)625-4654 (089)971-4729 (089)971-4563 (0888)82-4021 (0888)82-4635
(092)586-1122 (092)572-4652 (0942)45-8211 (093)592-4677 (092)586-1122 (0952)24-9450 (095)844-1870 (0957)52-3511 (0956)32-6666
(097)552-9416 (097)552-2313 (096)366-7070 (096)364-4777 (0969)23-8711 (0985)31-1823 (0985)31-1832 (099)253-0250 (099)253-4600
(098)861-0866 (09807)3-3603
(0997)53-4777
TEL (043)297-4649 FAX (043)299-8280
TEL (06)6621-4649 FAX (06)6792-5993
(011)642-4649 (022)288-9147 (03)3893-4649 (052)332-4649
(06)6794-7041 (082)874-4649 (087)823-4901 (092)572-4655
ACCESSORIES (page 13)
q q q q q
AC Adaptor x 1 Battery Case x 1 Carrying Case x 1 Headphones x 1 Remote Control Unit x 1
q q q q
Battery Carrying Case x 1 Battery Charger x 1 Connecting Cable x 1 Rechargeable Battery x 1
ABOUT THE BATTERY CHARGER (pages 18 – 19)
There are two different ways to use the battery charger. One is to use it as a normal battery charger, the other is to use it with an AC adaptor by attaching the main unit to the battery charger.
s Mounting
Release the charge/operation selector switch and insert the main unit into the battery charger.
2. Plug the AC adaptor into an AC outlet (AC 100V) and plug the other end into the DC IN 5V jack on the battery charger. Move the Charge/Operation switch to charge mode. [. . . ] If the connected equipment restarts playback, it will follow the unit to restart recording. q If no sound from equipment is detected for 3 seconds or more, the recording will be paused automatically.
s To start recording in the middle of a previously recorded section
1. During playback, press the button at the point where you want to record a new track over an old track. q At this time, all of the old tracks and track names recorded after the point where the new recording is started will be erased. Press the MODE button repeatedly to select recording mode. q Recording will start.
s Creating your own track number while recording
Press the REC button once at the point where you want to create a track number.
s To resume creating track numbers automatically
[Analog recording] If you activate auto marker function while recording in the analog connection, 1 second or more silence allows to number tracks automatically. Each time the EDIT button is pressed while in the recording stand-by mode or while recording, “MARK OFF” and “AUTO MARK” will be displayed in turn. To record without creating track numbers Press the EDIT button to select “MARK OFF”. Then adjust the synchronous level by pressing the ENTER button. q “MIC SYNC H” and “MIC SYNC L” will appear mutually on the display. To record the lower sound, select “MIC SYNC H”. To record the louder sound, select “MIC SYNC L”. As soon as a sound is detected, the recording will start automatically. Note: If you want to use a microphone, be sure it is a plug-in-power type microphone. q When a plug-in-power type microphone is plugged in, the main unit will provide power for the microphone’s operation. q If a different type of microphone is plugged in, it may not operate properly or it may cause the unit to malfunction.
s To display the remaining recording time and the total playing time
Press the DISP button while in the stop mode. q Each time this button is pressed, the display will change as follows;
Disc name and total playing time Disc name and total playing time
Disc name and remaining recording time
Note: This unit can display katakana characters which conform to the MD standard specifications. If a nonstandard disc is played back, katakana characters may not be displayed.
s To check the playing time of each track
1. When stopped, press the or button to select a track. q The track number and track name of the selected track will be displayed. q The playing time of the track will be displayed. Note: After displaying the playing time at step 2, just select the track number to display its playing time.
s To mark while recording from a microphone
You can mark the recording at regular intervals to be able to locate the beginning of any section. [. . . ] q The selected track will be erased.
s Combine
Two adjacent tracks can be combined (for example, the fifth and sixth tracks). Play back the second of the two tracks which you want to button. combine, and press the q While in the stop mode, press the or button to select a track. Press the EDIT button repeatedly to make “COMBINE” appear on the display. [. . . ]
SHARP MD-MT77ダウンロード上のご注意
Lastmanualsはユーザー主導型のハードウエア及びソフトウエアのマニュアル(ユーザーガイド・マニュアル・クイックスタート・技術情報など)を共有・保存・検索サービスを提供します。
お探しの書類がなかったり、不完全だったり、言語が違ったり、モデル名や言語が説明と違う場合など、いかなる場合でもLastmanualsはその責を負いません。またLastmanualsは翻訳のサービスもしていません。
規約に同意して「マニュアルをダウンロード」をクリックすればSHARP MD-MT77のマニュアルのダウンロードが開始されます。
