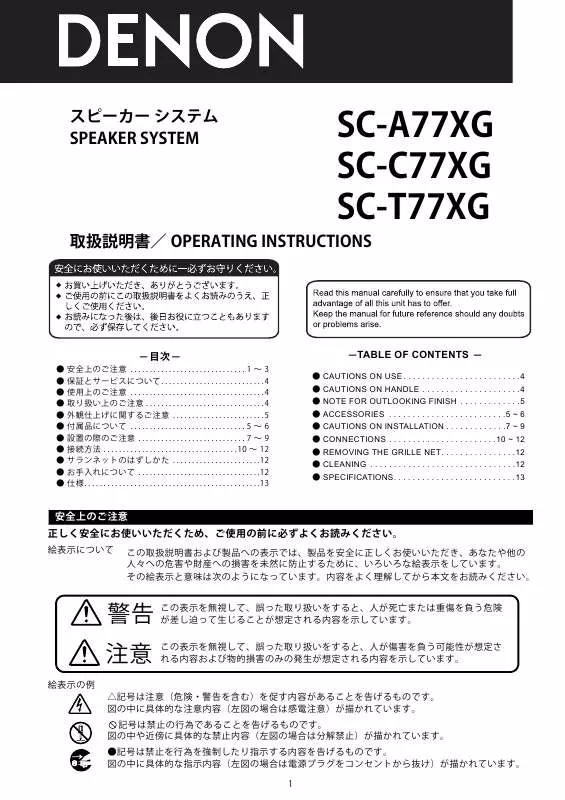
ユーザーズガイド DENON SC-T77XG
Lastmanualsはユーザー主導型のハードウエア及びソフトウエアのマニュアル(ユーザーガイド・マニュアル・クイックスタート・技術情報など)を共有・保存・検索サービスを提供します。 製品を購入する前に必ずユーザーガイドを読みましょう!!!
もしこの書類があなたがお探しの取扱説明書・マニュアル・機能説明・回路図の場合は、今すぐダウンロード。Lastmanualsでは手軽に早くDENON SC-T77XGのユーザマニュアルを入手できます。 DENON SC-T77XGのユーザーガイドがあなたのお役に立てばと思っています。
DENON SC-T77XGのユーザーガイドをLastmanualsがお手伝いします。


マニュアル抽象的: マニュアル DENON SC-T77XG
詳しい操作方法はユーザーガイドに記載されています。
[. . . ] Avoid using them under these conditions. • Never play such special signals as a tape recorder's fastforwarding signals or sine waves continuously. • When moving the speaker systems, be careful not to apply excess force to the speaker nets. Doing so could damage the speaker units.
CAUTIONS ON HANDLE WARNING
• In case of ceiling or wall installing, please ask a specialist to make it safely. [. . . ] • Fix cord to prevent being caught on it and making loudspeakers topping down.
Speaker system (SC-A77XG) • When setting on a shelf, etc. , attach the four included antislip pads (pieces of cork 2 mm thick) to the bottom. (Refer to diagram below. )
Anti-slip pad
Anti-slip pad
Screw holes Floor-mount stand (ASF-A77) / Ceiling suspension bracket (ASG-555)
(When mounting on a stand or brackets) The speaker system (SC-A77XG) can be mounted to a separately sold floor-mount stand (ASF-A77), Ceiling suspension bracket (ASG-555) using the screw holes on the bottom (120 mm intervals). When mounting on a stand or bracket, follow the instructions included with the bracket or stand and be very careful to mount the speaker system securely.
Speaker system (SC-C77XG) • The included anti-slip pads or base can be used to set the speaker systems (SC-C77XG) at one of three angles: level, slanting upward ( at about 10 ) or slanting downward ( at about 10 ). To set the speaker system level Use the included base and set as shown on the diagram below.
Speaker system (SC-C77XG) Side view
Included base
Speaker system (SC-C77XG) Front view
Included base
To set the speaker system at an angle slanting upwards Use the included base and set as shown on the diagram below.
Speaker system (SC-C77XG) Side view
Included base
Speaker system (SC-C77XG) Front view
Included base
CAUTION
• Use the included base and set in a firm stable place. • If the speaker system is set in an unstable place, it could tip over or fall, possibly resulting in serious accidents.
Speaker system (SC-T77XG) • When installing a speaker system (SC-T77XG), mount the included anti-slip pads (cork) or the included spikes to six points on the bottom of the unit. (Refer to diagram below. )
Anti-slip pads (cork) included
• Mounting anti-slip pads (cork) (Refer to diagram above. ) • Mount the included anti-slip pads (cork) over the six screw holes on the bottom of the unit.
Nuts included Spikes included
• Mounting the spikes (Refer to diagram above. ) • Fasten the included spikes into the six screw holes on the bottom of the unit. • Please adjust NUTs for fixing firmly. A spanner or the like may help you in case of difficulty. • You can use SPIKE SAUCERs included to prevent catches on the floor.
WARNING
• Be careful not iniured (at the tio of a spike etc. ) in the case of attachment. • Please handle the main unit (SC-T77XG) with care not to harm yourself by dropping.
CONNECTIONS
Before connecting, please consult with the instructions of your amplifier and follow them also. Be sure to turn the amplifier's power off when connecting the speaker systems. • Use the included cables to connect the input terminals on the back of the speaker systems (see diagram) to the amplifier's speaker output terminals. • Connect the speaker system for the left channel amplifier's "L" terminals, the one for the right channel to the amplifier's "R" terminals, matching the polarities (" " and " " marks). • Inverting the polarities will result in unnatural sound, with the phase off or no low bass sound. Also check that all knobs are tightly fastened. Peel off the sheath from the tip of the connection cord, then firmly twist the wires by hand so that they do not stick out and cause short-circuits. Loosen the terminal by turning it counterclockwise, then insert the connection cord into the hole in the speaker terminal. Turn the terminal clockwise to tighten it. Check that none of the core wires are sticking out of the hole.
1 Sheath
2
3
Once the connections are completely, gently pull on the speaker cords to make sure they are securely connected.
1. Speaker system (SC-A77XG/SC-77XG/SC-T77XG) (For normal use) • Use the included cables to connect the input terminals on the back of the speaker systems (see diagram) to the amplifier's speaker output terminals.
Connections . The red terminals on the right side are the" " terminals, the black ones on the left side the " " terminals.
For normal use Loosen the terminal knobs and insert the short-circuit plates. Short-circuit plate Loosen the terminal knobs, insert the cords' core wires, then tighten the konobs. Connect to amplifier's " " side. [. . . ] (Copper color) Short-circuit plate Woofer terminals Tighten securely. the "
knobs "
Connect to amplifier's " side. (Silver color)
• For amplifiers with no "A+B" posision
Tweeter / Super tweeter Set the amplifier's speaker selector switch to the "A+B" position. Connect to amplifier's A speaker " " side. [. . . ]
DENON SC-T77XGダウンロード上のご注意
Lastmanualsはユーザー主導型のハードウエア及びソフトウエアのマニュアル(ユーザーガイド・マニュアル・クイックスタート・技術情報など)を共有・保存・検索サービスを提供します。
お探しの書類がなかったり、不完全だったり、言語が違ったり、モデル名や言語が説明と違う場合など、いかなる場合でもLastmanualsはその責を負いません。またLastmanualsは翻訳のサービスもしていません。
規約に同意して「マニュアルをダウンロード」をクリックすればDENON SC-T77XGのマニュアルのダウンロードが開始されます。
